
8 Garage Slatwall Storage Ideas for a Multipurpose Garage
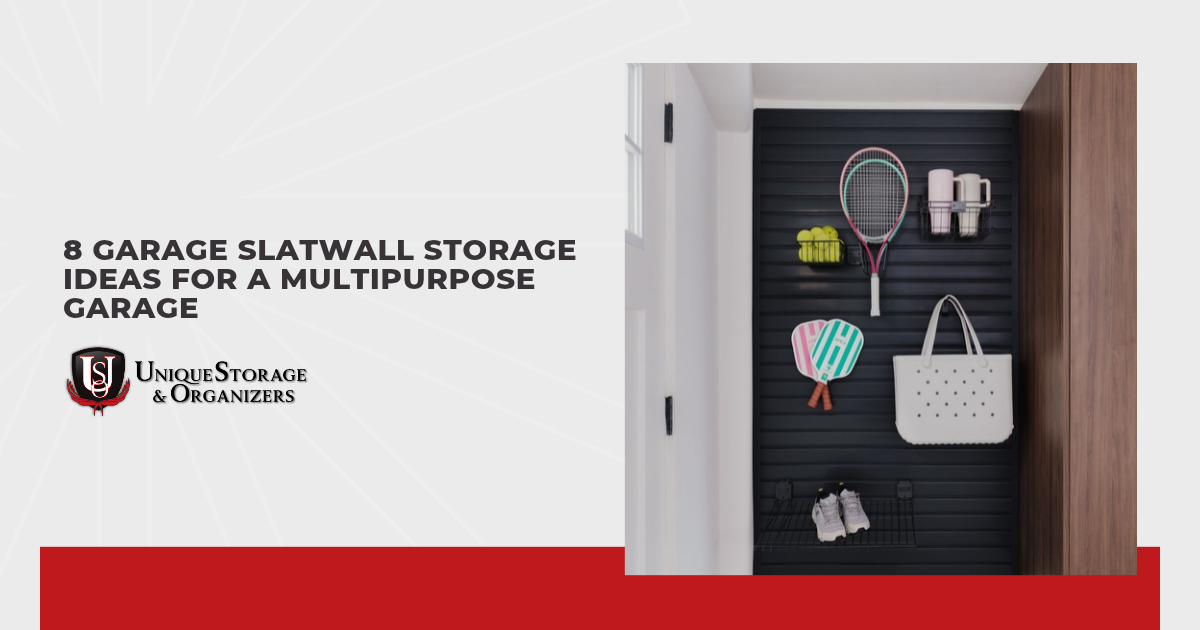
How many things does your garage need to be today? Planning your garage slatwall layout gets easier when you consider everything the room has to accommodate. Your car needs parking space, weekend projects need a work area, and workout gear needs somewhere to land between sessions. Trouble starts when those activities share one growing pile of equipment.
Giving each activity a defined storage spot helps you switch tasks without rearranging half the garage. I’d start with whatever you regularly have to move before you can do something else. Its storage location should make sense for both taking it out and putting it away. You can then build a layout around your routines, choosing the ideas that fit how you use the room.
Give your everyday activities their own space with these garage slatwall storage ideas:
- Create a dedicated bicycle parking area
- Set up a grab-and-go sports station
- Organize tools above your workbench
- Build a yard-care tool station
- Keep car-care accessories together
- Make room for a garage workout area
- Arrange a camping gear packing station
- Add a wall-mounted recycling station
Start with the area that causes the most daily frustration, and consider how its placement affects the rest of your garage.
Create a Dedicated Bicycle Parking Area
Bikes can take up a surprising amount of room when they’re leaning against whatever happens to be nearby. Dedicated bicycle hooks give you a consistent place to park them between rides. Choose hooks designed for your slatwall system and suited to your bikes’ weight and tire size. With a designated spot for each bike, you won’t have to shift one aside whenever you need something behind it.
Before choosing a location, check how far the stored bikes will project into the garage. Handlebars and pedals need clearance, especially beside your car or along a walkway. You should also have enough room to lift a bike onto its hook and take it down comfortably. I recommend checking the layout with your vehicle parked in its usual position so you can judge the available space accurately.
Mounting height deserves just as much thought as spacing. You need to be able to handle the bike comfortably throughout the motion of hanging and removing it. Follow the system’s installation and load requirements, and choose a different storage arrangement if lifting is difficult. The goal is a parking spot you’ll use after a ride, even when you’re tired and ready to head inside
Set Up a Grab-and-Go Sports Station
Getting ready for practice takes longer when a missing ball or hockey stick sends you searching through the garage. A dedicated sports station keeps the equipment you regularly take along in one accessible area. Use compatible holders for sticks and bats, with baskets or ball holders for loose equipment. Place the station near your usual loading route so gathering gear fits naturally into leaving the house.
Within that area, group equipment by sport so you can quickly see what’s ready to go. You might keep baseball gloves beside the bats and give hockey equipment its own section. For shared items, I prefer an open basket where you can see the contents without pulling everything out. Leave enough room around longer equipment to remove it without knocking neighboring items loose.
The setup should also make putting equipment away manageable for whoever uses it. Position frequently used items within comfortable reach, especially when children are responsible for returning their own gear. Simple labels can help you keep similar baskets organized as equipment comes and goes. After practice, you’ll have a clear place to return everything before it spreads across the garage floor.
Organize Tools Above Your Workbench
Your workbench is harder to use when tools occupy the space you need for a project. Garage slatwall above the bench gives frequently used tools a nearby home. You can see what’s available without opening several drawers or digging through a toolbox. Reserve the easiest spots to reach for the tools you use most often.
My advice is to choose holders around your actual tool collection before deciding how to arrange them. Three accessory types can help organize this area:
- Tool Hooks: Give hammers and other suitable hanging tools individual spots.
- Magnetic Tool Racks: Keep compatible metal hand tools visible and easy to retrieve.
- Hardware Bins: Separate screws, nails, and other small parts into labeled containers.
Leave some open space between groups so you can grasp a tool without catching its neighbor. Check that you can reach everything without leaning across equipment or an unfinished project. As you use the bench, adjust any placement that makes you stretch or search unnecessarily. When cleanup is quick, you’re more likely to leave the surface ready for your next repair.
Build a Yard-Care Tool Station
Rakes and shovels tend to become a tangled bundle when you lean them together in a corner. Give your long-handled yard tools separate spots on compatible slatwall hooks near the garage entrance. You’ll be able to grab what you need without carrying dirty equipment past your workbench or car. Choose a location where hanging tools won’t interfere with the garage door or its tracks.
Plan the spacing around the widest part of each tool, including rake heads and shovel blades. Handles may fit neatly side by side while the heads still overlap. Test whether you can remove one tool without lifting or shifting another. A nearby basket can hold gardening gloves and small hand tools that would otherwise disappear behind larger equipment.
Your most convenient storage spots can change with the season. When snow arrives, move the snow shovel into an easy-to-reach position and shift less-used gardening tools farther along the panels. Keep this swap simple enough that you can make it without reorganizing the entire station. Leave a spot ready for the tool you’ll need next, so heading outside doesn’t begin with untangling a pile.
Keep Car-Care Accessories Together
Washing your car is easier to start when you don’t have to hunt for a clean cloth or wash brush. A slatwall section beside your parking area can keep those accessories together. Position it where you can collect supplies without squeezing between your vehicle and the wall. Allow enough clearance to open your car doors without hitting baskets or projecting handles.
Separate your accessories by how you use them and how clean they need to stay. These three groups give the station a practical structure:
Clean Cloths and Wash Mitts: Store clean, dry items in a covered container on a compatible shelf. Keep them separate from accessories used on wheels and tires.
Wash Brushes: Hang brushes on suitable hooks with enough space around their bristles. Let them dry before returning them to storage.
Detailing Tools: Place small brushes and applicators in labeled bins. Separate tools by task so you can quickly choose the right one.
Leave used cloths out of the clean supply until you’ve washed and dried them. You can also keep a removable container nearby to collect accessories that need cleaning after a wash. Before adding cleaning products to the station, check their labels for storage directions and temperature limits. Your garage temperatures should guide which products you keep there throughout the year.
Make Room for a Garage Workout Area
Unrolling an exercise mat shouldn’t require clearing a pile of equipment first. If part of your garage doubles as a workout area, nearby slatwall storage can help you keep the floor available between sessions. Use suitable hooks for jump ropes and baskets for resistance bands or small accessories. Store your rolled mat in a compatible holder where you can retrieve it easily.
Position the storage beside your exercise space, allowing room for your full range of movement. Hooks and baskets shouldn’t project into the area where you stretch or lift your arms. Before settling on a layout, I recommend checking the space with your mat unrolled and your usual equipment in position. You may find that a basket needs to move farther away to give you enough clearance.
Choose smooth holders that won’t pinch or snag your bands and ropes. Keep heavier equipment, such as dumbbells and weight plates, on storage designed for those loads. After a session, let damp accessories dry before putting them into enclosed containers. With everything put away, you can return the floor to its other garage duties.
Arrange a Camping Gear Packing Station
Packing for a camping trip can turn into a garage-wide search when your equipment lives in several different places. A dedicated packing station brings folding chairs and smaller camping essentials together. Hang chairs on compatible hooks rated for their weight, and use baskets for lightweight accessories. You’ll have a place to check your supplies before loading the car.
Group smaller items by campsite task so you can check one category at a time. Tent stakes and guy lines can share a labeled container, while campsite tableware gets another. Keep the labels facing outward so you can identify containers without opening them. Compare the contents with your packing list before a trip, leaving room to gather anything that needs replacing.
When you return, unpack and check your gear before putting it back in its assigned spot. Clean off dirt and allow damp equipment to dry fully before storage. You can leave a note on the relevant container if something broke or went missing during the trip. Next time you’re ready to get away, you’ll know what still needs attention before you start packing.
Add a Wall-Mounted Recycling Station
Recycling can quietly take over a garage when bags and boxes collect wherever there’s an empty patch of floor. A wall-mounted station gives accepted materials a defined holding area between collection days. Choose bins and supports designed for your garage slatwall system, following their load limits. Size the containers around how much recycling you typically collect so they don’t overflow halfway through the week.
Place the station along a convenient route for carrying materials outside. You’ll need room to remove a full bin without bumping your car or blocking the doorway. Separate materials only as required by your local collection program, and label the containers accordingly. Keep the arrangement simple so you can sort items quickly when your hands are full.
Removable containers make it easier to empty the station and clean up spills. Check that you can comfortably lift each bin when it’s full, especially one holding glass. Follow your collection program’s preparation instructions before adding containers to the bins. On collection day, you’ll have one place to empty instead of several loose piles to gather.
Conclusion
There’s no need to fit all eight ideas into your garage to make the space work better. Choose the garage slatwall setups that support what you do most often, leaving room to adjust as your routines change. You’ll know the layout is working when starting a project or heading out for a ride takes less preparation. Even a busy garage should let you get on with your plans without a cleanup job first.
